Loungerie Trio Part 3: Dressing Gown. New Look 6072 Review
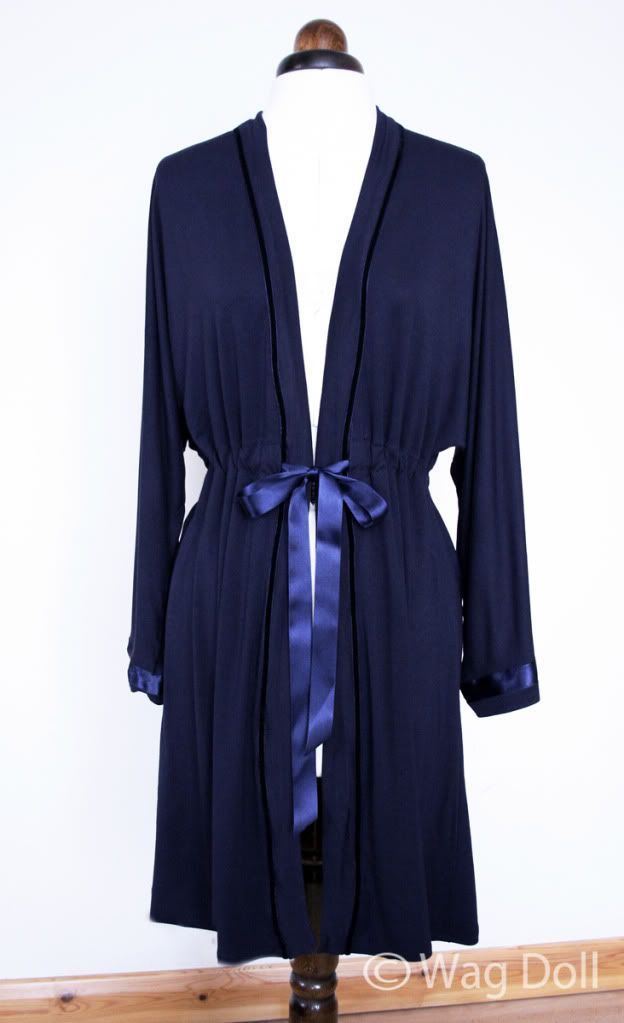
It's here! The final instalment of my 'Loungerie Trio' series, The Dressing Gown.
The previous blog posts for this series are the PJ Pants and Camisole Top, so be sure to check those out for a matching set of casual lingerie wear. Perfect for lounging around the house in the evening, yet still pretty enough to answer the door to visitors without scurrying off to get changed.
Read on for more photos, a review of the pattern and some modifications I made.
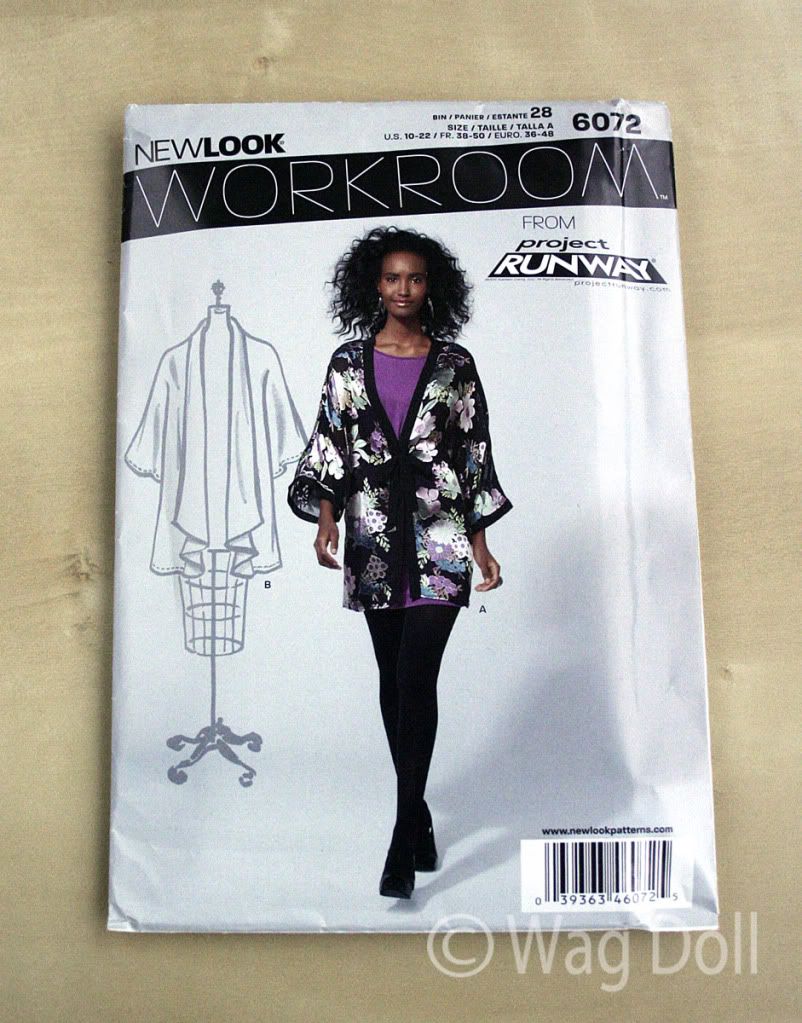
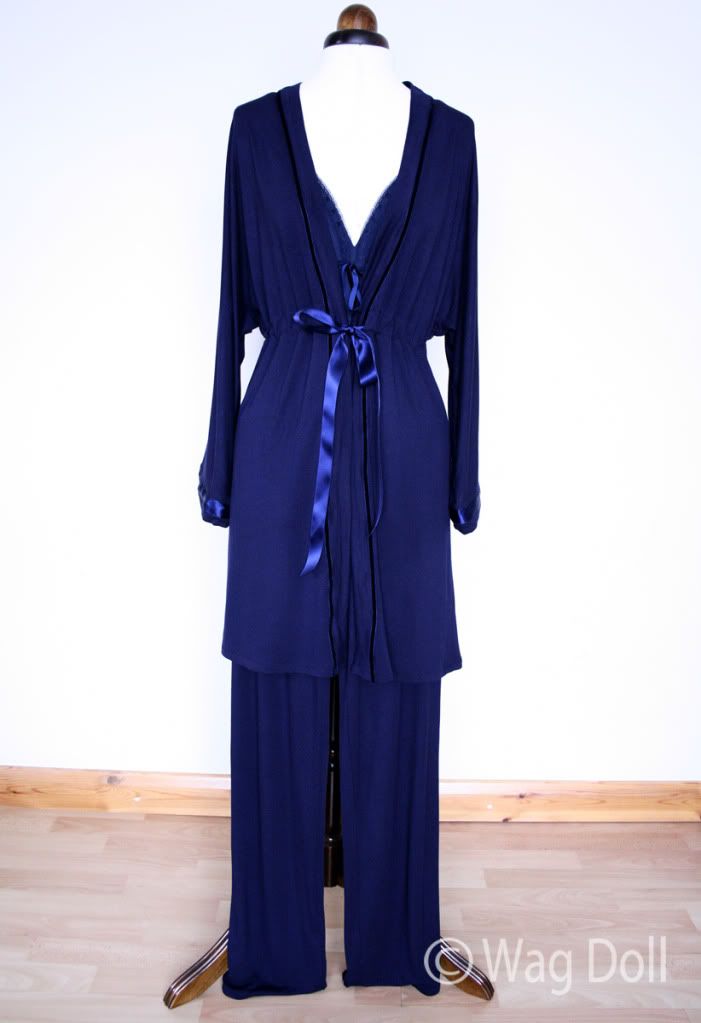
The pattern I used for the dressing gown is New Look 6072, a kimono style unlined jacket from the Project Runway collection.
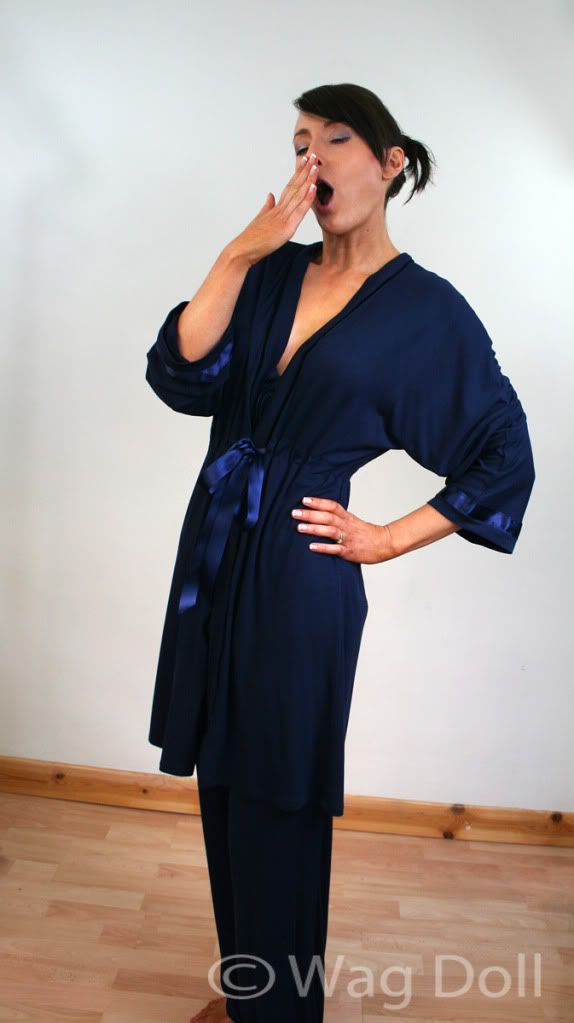
I wanted a flowing wide sleeved style for the dressing gown, loose and casual and knew this would be perfect. I used view A with the self tie belt to hold it closed at the front, although I did make some modifications..I just can't help it!
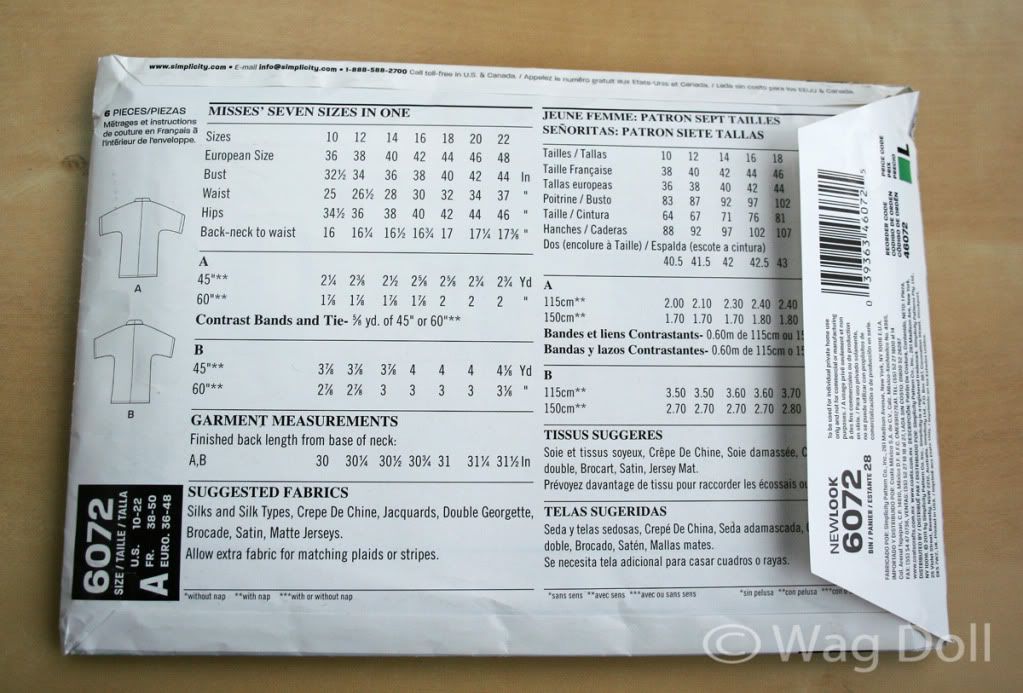
Once again I used navy four way stretch lycra jersey fabric and I cut the smallest size on the envelope, size 10. The pattern runs up quite big, but as this is unstructured loose fitting garment I didn't find it a problem. and the self-tie belt I added pulls in the extra fabric.
New Look do not list this pattern as 'easy' although I think they should, as it's a great pattern for a beginner. I found it very quick to make and had no problems following the instructions at all. To be honest a more experienced sewist probably won't need to refer to the instructions at all, there are only a few pattern pieces and it was very straightforward.
I don't have a serger (overlocker) but found that zig zag stitch on my machine worked perfectly well with the jersey fabric.
With regard to modifications, I made a couple of changes. I increased the length of the garment by three inches. On the pattern envelope the kimono reaches just above mid thigh on the model...although she is probably about 7 feet tall and I am most definitely not. Still, I wanted the dressing gown to cover a bit more of my legs...it's cold in Yorkshire in the winter!
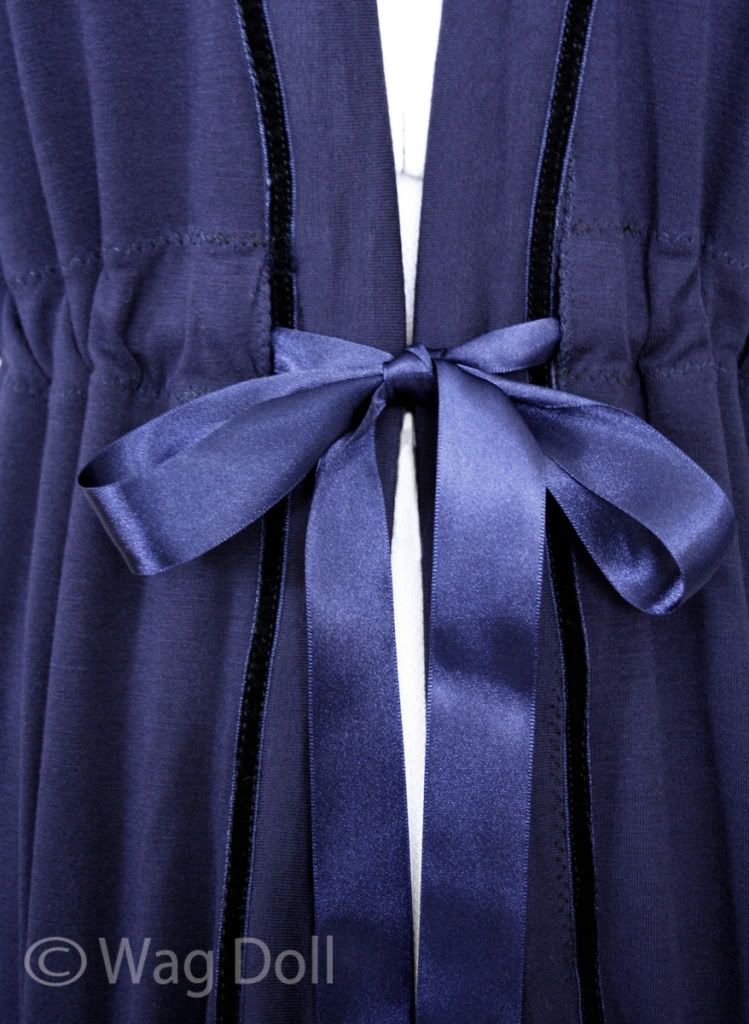
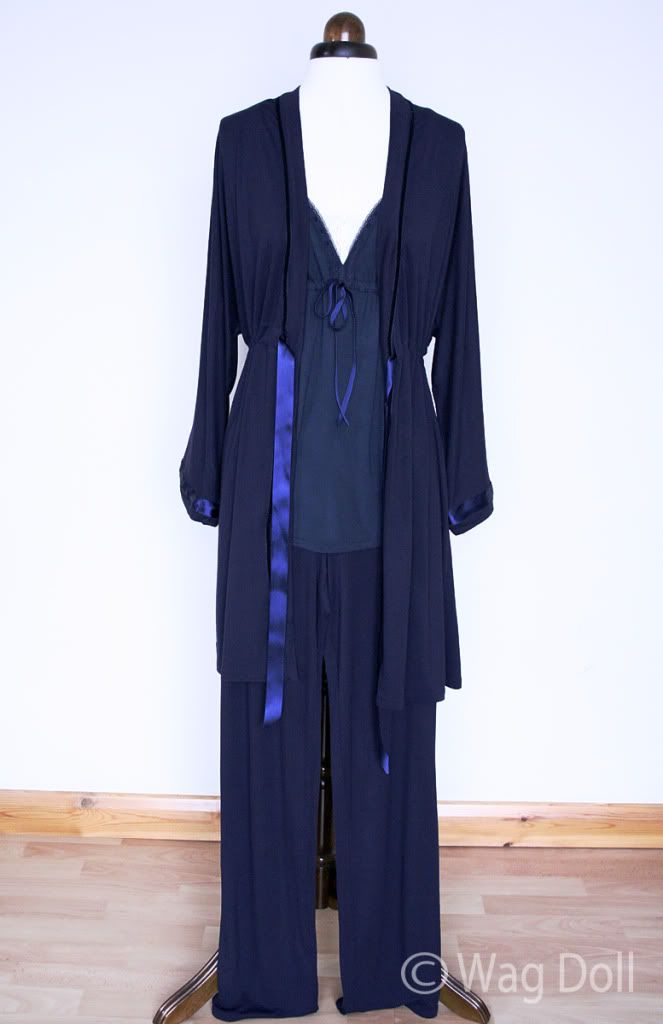
I also added a belt casing. The pattern has a ribbon tie at the front to hold the garment closed, but I wanted a gathered look to give it more shape.
To add the belt I made a couple of openings on the garment and neatened the edges, button hole style. I cut a long length of the jersey fabric a couple of inches wide, hemmed each long edge and top stitched in place on the inside of the garment, making sure the button holes sit on top of the casing. The belt is just 1inch wide satin ribbon, threaded through the casing. Hopefully the photo above helps to explain it all.
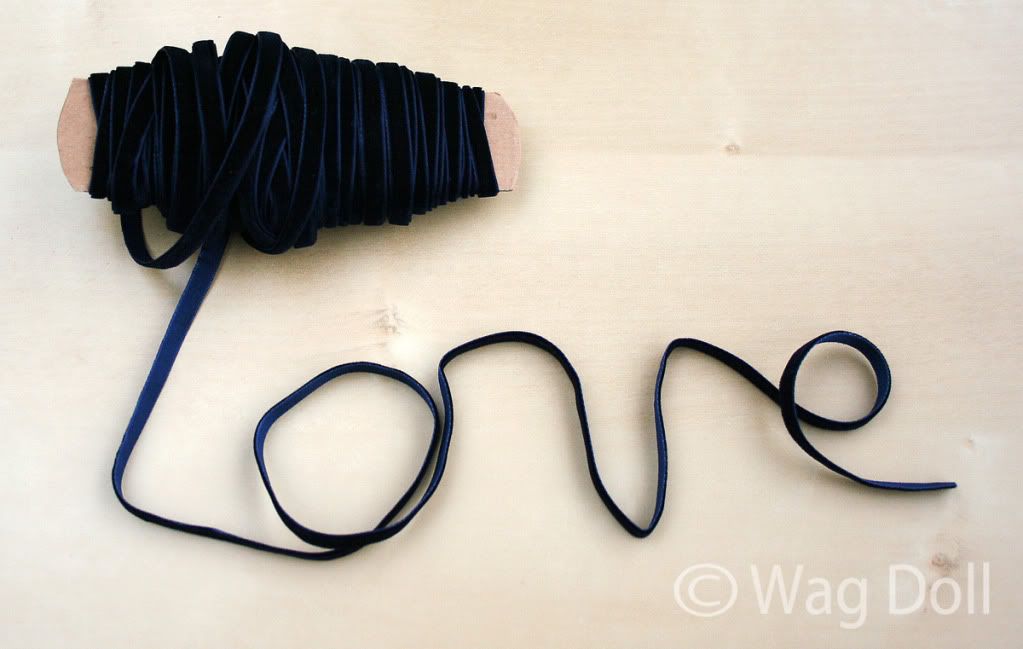
The addition of my beloved velvet ribbon trim adds a 'Wag Doll' touch. Have you noticed how I've managed to sneak it into each of the 'Loungerie' garments?!
I could say this design feature helps to tie all three garments together into a harmonious trio...or I could be honest and say this velvet ribbon is so stinkingly cute I want to add it to everything!
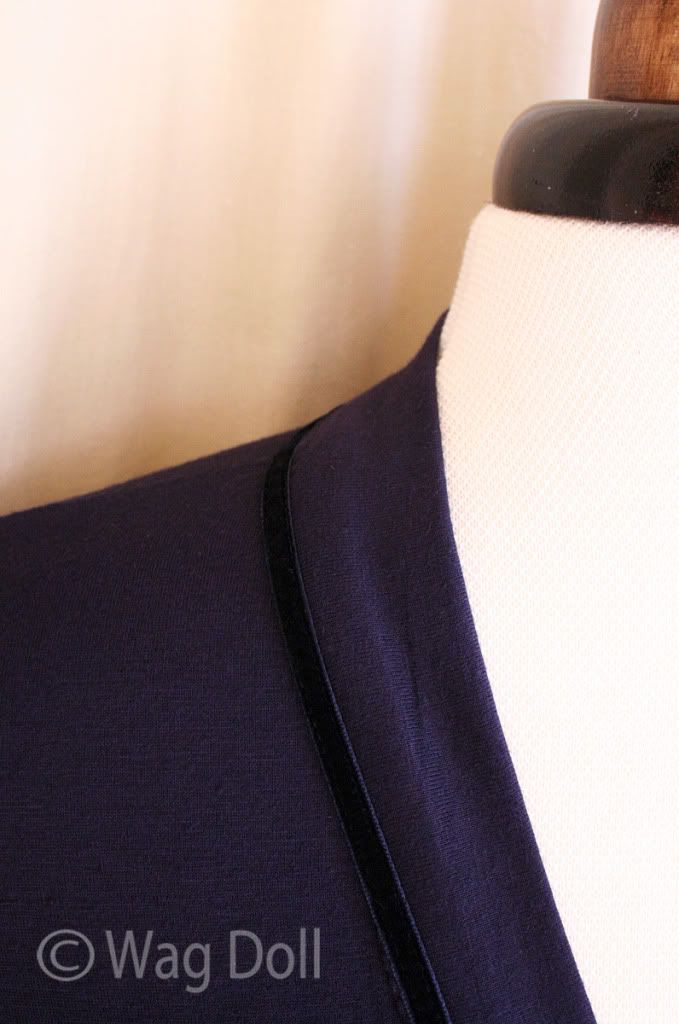
The velvet trim also serves a more practical purpose. It helps disguise the belt case openings, and also supports the weight of the garment. This is four way stretch jersey and if you're not careful the weight of the fabric can drag the garment down...never mind covering my legs during winter, it would be a trailing behind me by Christmas!
So adding the non-stretchy trim to the front edge of the dressing gown and around the neck makes sure the fabric doesn't over stretch.
New Look 6072 is a great easy pattern and I would definitely recommend it. Here's the finished trio together (please ignore the slight shade difference in the camisole top....I made a sewing boo boo by not ordering enough fabric!!!).
Although I've now completed the pyjamas and dressing gown I suspect my trio may become a quartet in the near future. I've seen another pattern which would go very well with this series...any guesses what it might be?!
I hope you've enjoyed the Loungerie Trio series, and let me know if you've ever made a series of mix and match garments or if this has inspired you to have a go.
Now all this sewing and blogging has made me a very sleepy girl, so it's time for me to catch forty winks and say goodnight all!

Comments
zara clothing
Post a Comment
I love reading your comments, so let me know what you think! x