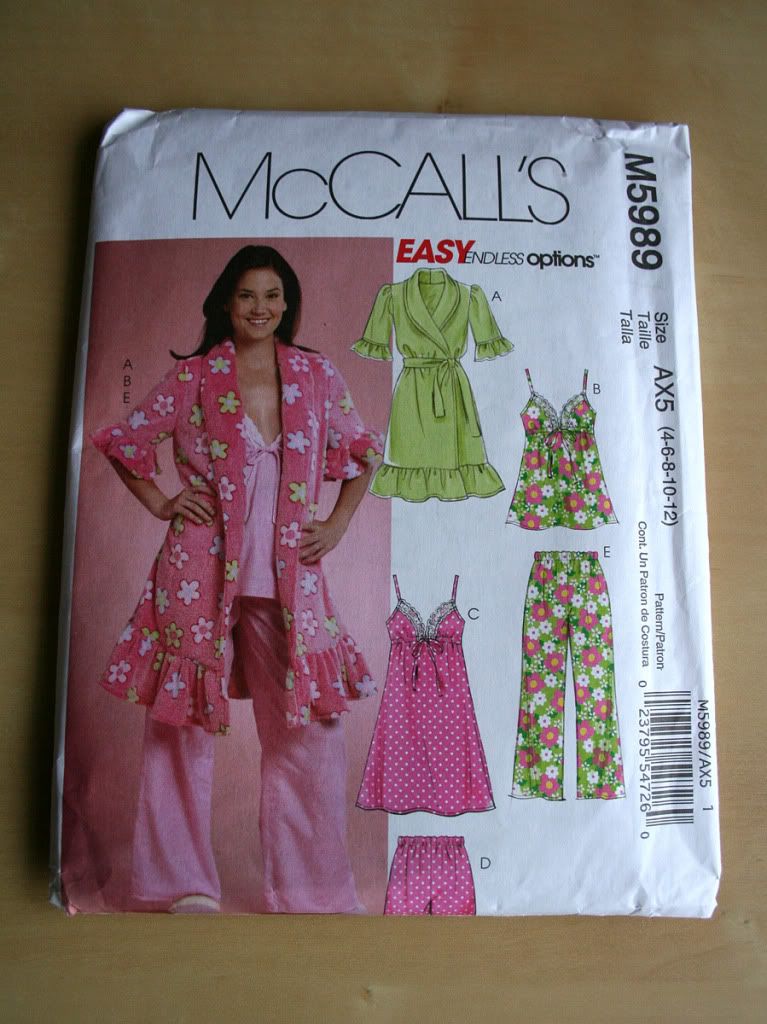
Loungerie Trio Part 2: Camisole Top. McCalls M5989
Welcome back lovelies, for the second instalment of my lingerie lounge wear trio, the camisole top.
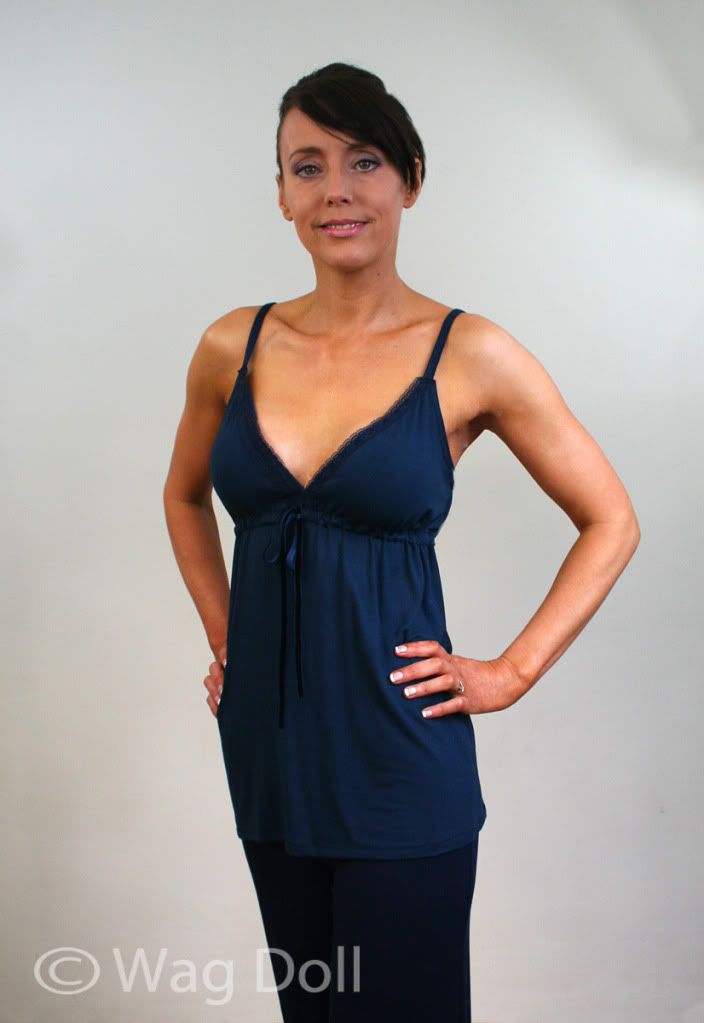
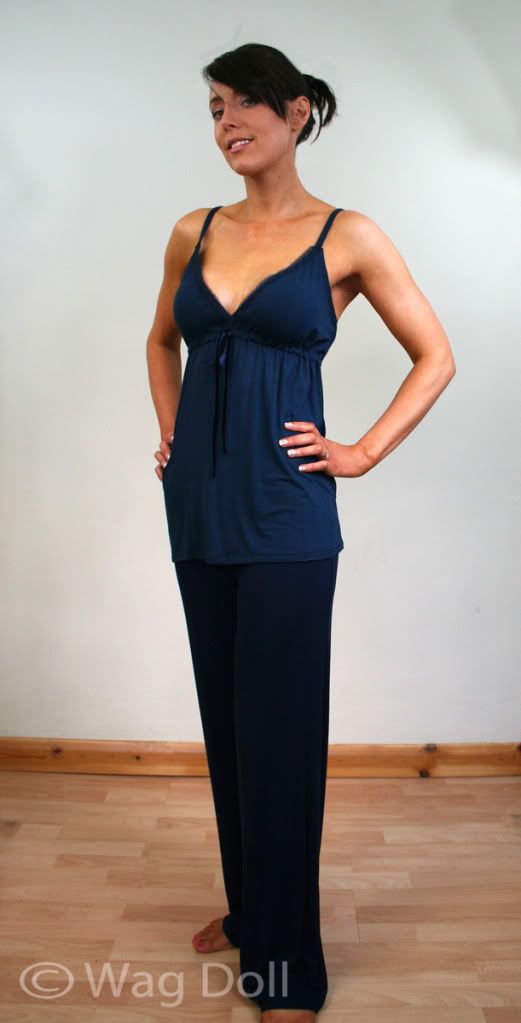
Modelled here by my good self and not Anne my dress form, you can tell it's me because I've got a head and Anne does not. Although from the massive boo-boo I made it's possible I don't have a brain...more on that later!
I'm also wearing the yoga style pyjama pants I described in part 1 of the trio here.
Read on for more pictures and a review of the pattern...
Both garments are from the McCalls M5989 pattern. For the PJ pants I hardly used the pattern at all, but this time for the camisole I followed the pattern pretty much to the letter.
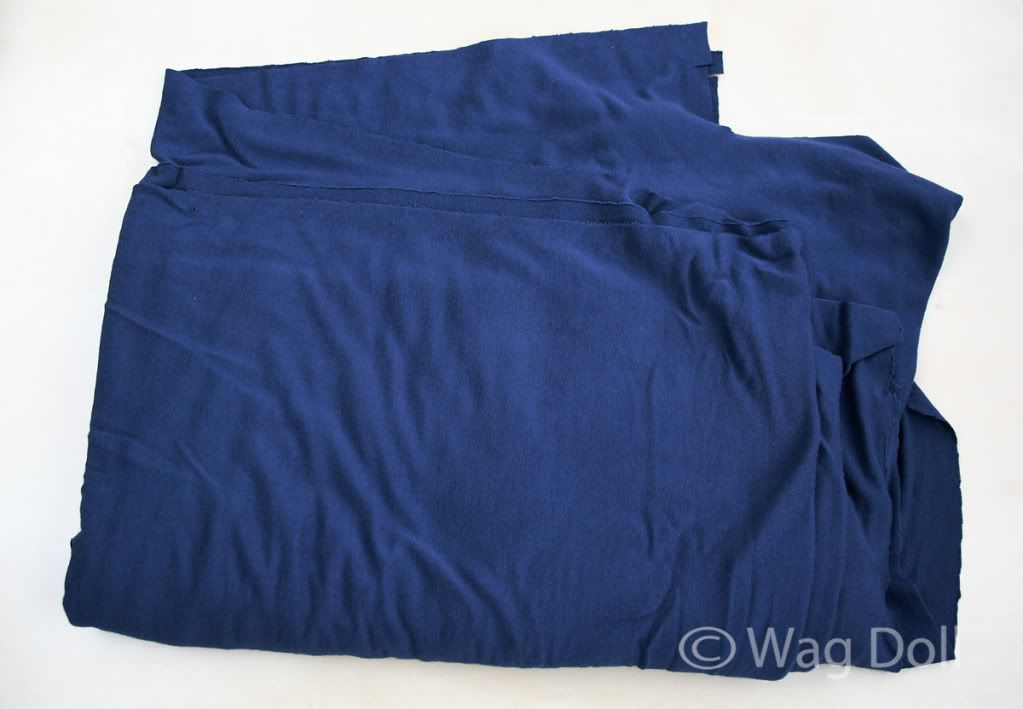
I cut a size 8 from 1 metre of navy 4 way stretch cotton lycra jersey, pre-washed and dried.
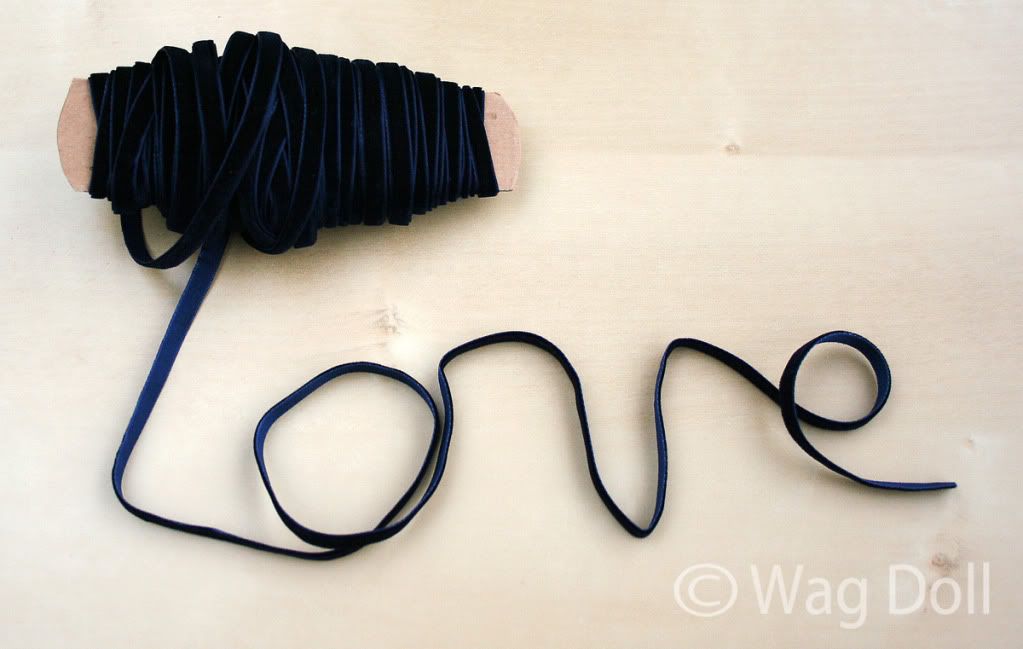
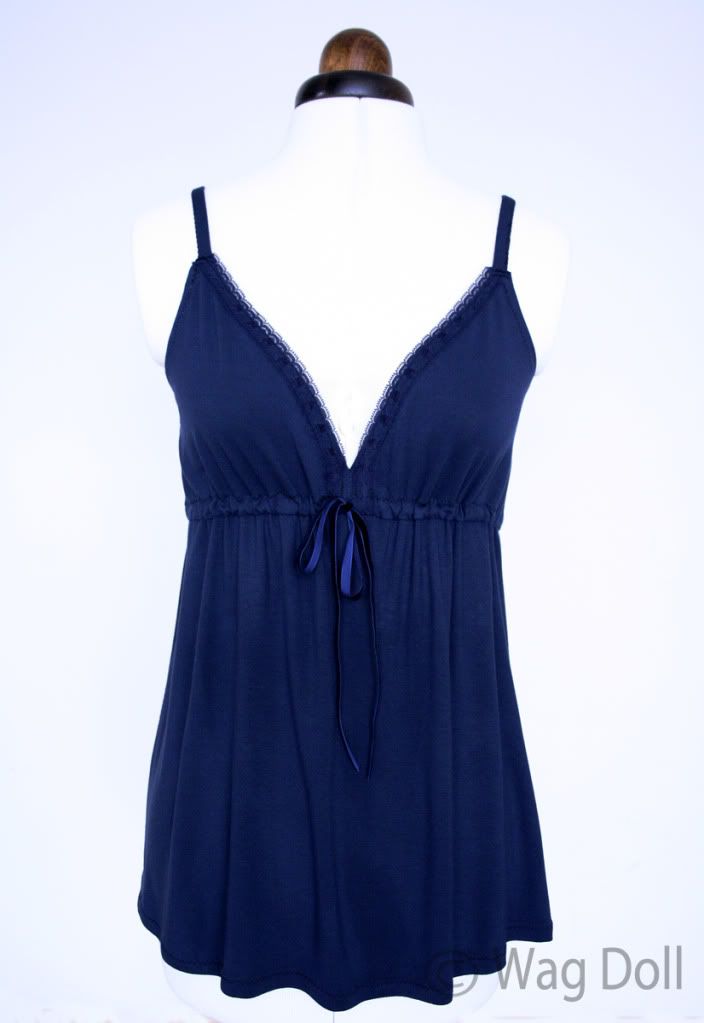
In addition you will need narrow ribbon trim for the tie at the front of the garment (I just love this velvet ribbon!).
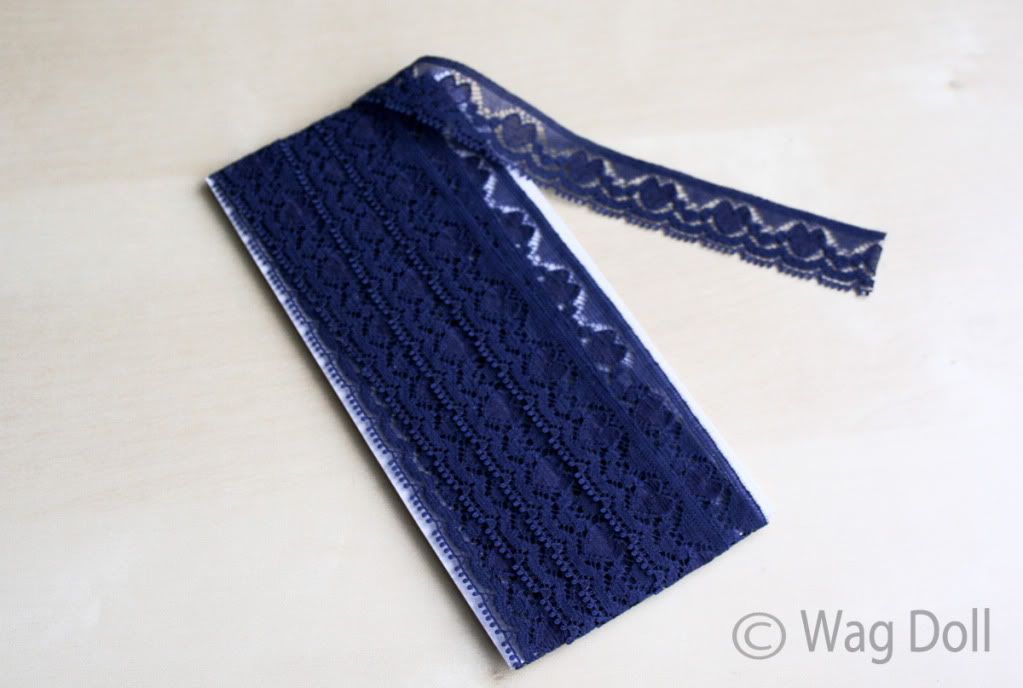
Plus some flat double edge lace trim to decorate the edging of the bodice area, and half a metre of 1 cm elastic for the gathers at the back of the garment.
I didn't make any modifications to the pattern for either sizing, cutting or making up. The instructions were clear and I didn't encounter any problems.
Compared to others I'm quite slow at sewing and this is only my 3rd item from a commercial pattern, but I completed this top from start to finish in about 3 hours, which I was very pleased with.
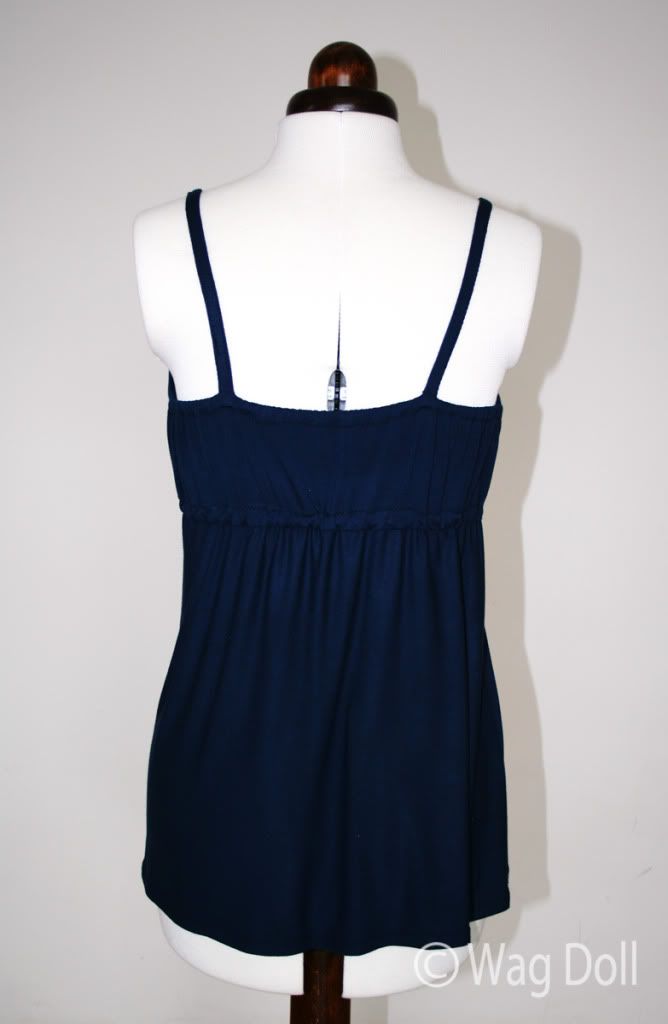
The garment uses a clever technique to create the empire line gathering. Elastic at the back ensures the garment is comfy and has some stretch, while ribbon trim at the front keeps it looking pretty.
The only thing I would change when I make this pattern again (and I will be making this pattern again, it's a keeper!) is that the bodice is very revealing, shall we say. One sudden move and there's a danger of the puppies escaping! No bad thing in the bedroom you might think, but as I want to wear this top for relaxing in the evening I don't want to be alarming any visitors who call round! I would raise the join between the bodice cups by a good couple of centimetres (about an inch) to ensure everything stays where it should.
So what was the sewing fail I mentioned at the top of the post? Well, I 'guesstimated' the amount of fabric I would need for the trio; PJ pants, camisole and a dressing gown. I made up the pants, cut out the dressing gown and.... yep you've guessed it.... I didn't have enough fabric left to make the top. Basic schoolgirl error, go to the back of the class Miss Wag Doll!
No matter how much pattern piece wrangling I did, I could not get the pieces to fit on the scraps left over, so I had to buy more fabric.
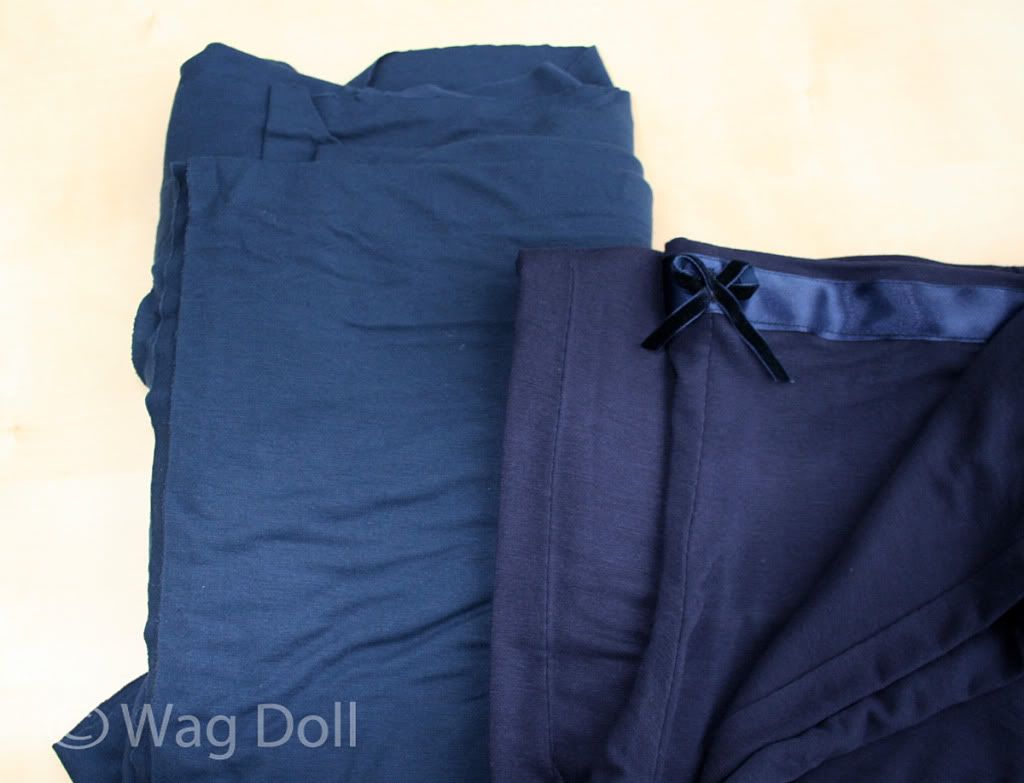
I went to the same ebay seller and bought the same fabric. But as you can see from the photo above, a couple of weeks difference means a new batch of fabric and there is a definite difference in shade, very noticeable.
Hey ho, we live and learn and that's what sewing is all about, a journey to learn new skills. Consider this a lesson learnt and I have paid attention! Have you ever had a similar disaster? Please tell me I'm not the only one.
To be fair when I'm wearing the top and pants the difference doesn't look too bad and I still love them. In fact I plan on making more of both garments....just in matching fabric next time!
Be sure to come back for part 3 of the Loungerie trio, the Kimono Dressing Gown.
Modelled here by my good self and not Anne my dress form, you can tell it's me because I've got a head and Anne does not. Although from the massive boo-boo I made it's possible I don't have a brain...more on that later!
I'm also wearing the yoga style pyjama pants I described in part 1 of the trio here.
Read on for more pictures and a review of the pattern...
Both garments are from the McCalls M5989 pattern. For the PJ pants I hardly used the pattern at all, but this time for the camisole I followed the pattern pretty much to the letter.
I cut a size 8 from 1 metre of navy 4 way stretch cotton lycra jersey, pre-washed and dried.
In addition you will need narrow ribbon trim for the tie at the front of the garment (I just love this velvet ribbon!).
Plus some flat double edge lace trim to decorate the edging of the bodice area, and half a metre of 1 cm elastic for the gathers at the back of the garment.
I didn't make any modifications to the pattern for either sizing, cutting or making up. The instructions were clear and I didn't encounter any problems.
Compared to others I'm quite slow at sewing and this is only my 3rd item from a commercial pattern, but I completed this top from start to finish in about 3 hours, which I was very pleased with.
The garment uses a clever technique to create the empire line gathering. Elastic at the back ensures the garment is comfy and has some stretch, while ribbon trim at the front keeps it looking pretty.
The only thing I would change when I make this pattern again (and I will be making this pattern again, it's a keeper!) is that the bodice is very revealing, shall we say. One sudden move and there's a danger of the puppies escaping! No bad thing in the bedroom you might think, but as I want to wear this top for relaxing in the evening I don't want to be alarming any visitors who call round! I would raise the join between the bodice cups by a good couple of centimetres (about an inch) to ensure everything stays where it should.
So what was the sewing fail I mentioned at the top of the post? Well, I 'guesstimated' the amount of fabric I would need for the trio; PJ pants, camisole and a dressing gown. I made up the pants, cut out the dressing gown and.... yep you've guessed it.... I didn't have enough fabric left to make the top. Basic schoolgirl error, go to the back of the class Miss Wag Doll!
No matter how much pattern piece wrangling I did, I could not get the pieces to fit on the scraps left over, so I had to buy more fabric.
Hey ho, we live and learn and that's what sewing is all about, a journey to learn new skills. Consider this a lesson learnt and I have paid attention! Have you ever had a similar disaster? Please tell me I'm not the only one.
To be fair when I'm wearing the top and pants the difference doesn't look too bad and I still love them. In fact I plan on making more of both garments....just in matching fabric next time!
Be sure to come back for part 3 of the Loungerie trio, the Kimono Dressing Gown.

Comments
Who'd have thought there would be such a difference in colour between the two batches of fabric?
Post a Comment
I love reading your comments, so let me know what you think! x